DIY Bathroom Renovations: Essential Tips and Tools for Success
Electrical and Plumbing Basics
Understanding electrical and plumbing basics is crucial for any DIY bathroom renovation. This section covers key considerations for bathroom wiring and essential plumbing aspects for toilets and sinks.
Understanding Bathroom Wiring
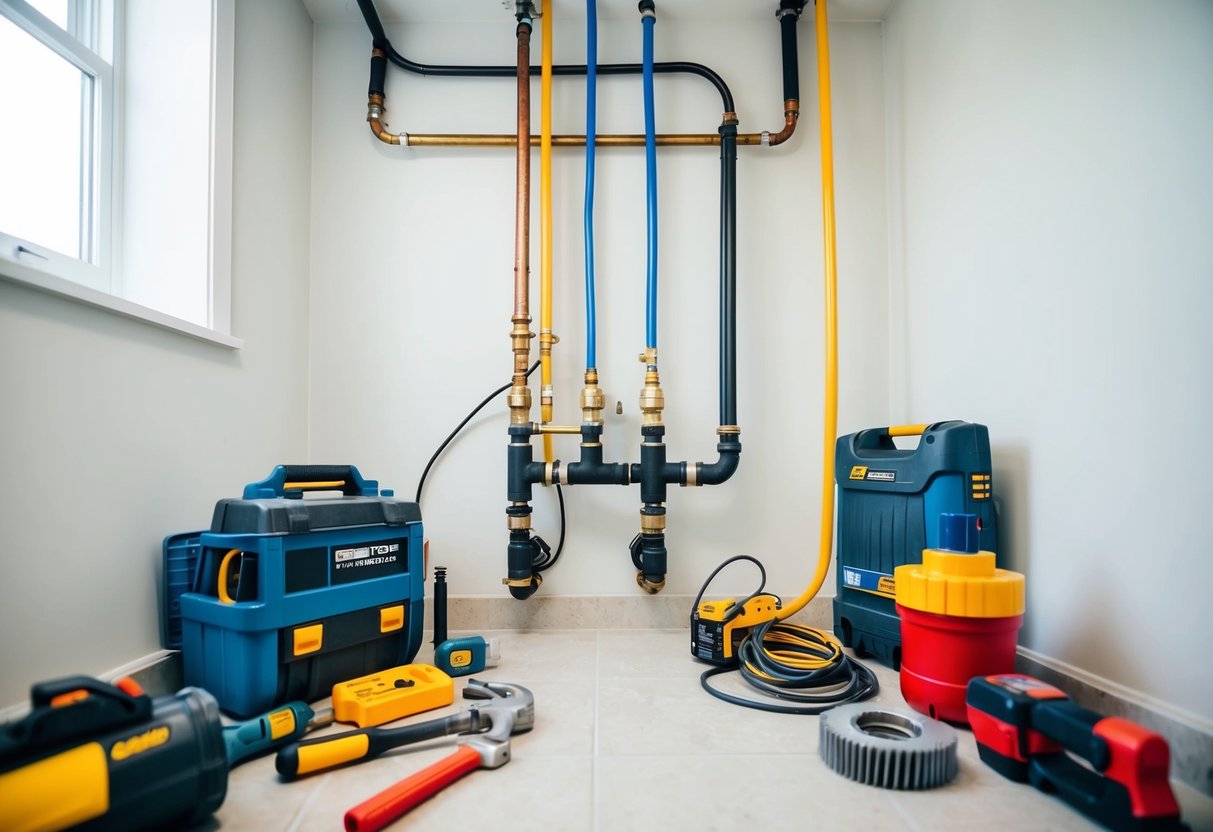
Bathroom wiring requires special attention to safety and functionality. Understanding the need for Ground Fault Circuit Interrupter (GFCI) outlets is critical. These outlets prevent electric shocks by shutting off power when a ground fault is detected. They should be installed near sinks and showers.
Lighting installations demand proper circuit choices. Choose fixtures labeled for damp locations. Ensure switches and lights are on the bathroom’s electrical circuit to avoid overloading. Use wire nuts and electrical tape effectively to secure connections. Consulting a qualified electrician can help ensure compliance with local electrical codes.
Plumbing Considerations for Toilets and Sinks
Plumbing plays a central role in bathroom renovations. When installing or replacing toilets, ensure the flange is level and secure. A wax ring will provide a proper seal. Toilets should be connected to a properly vented waste line to avoid drainage issues.
For sinks, selecting the right faucet for the installation type is essential. Compression fittings or push-fit connectors can make reassembling easy. Checking pipes for leaks and ensuring the main water shut-off valve is accessible is important. Use pipe sealant or Teflon tape to prevent leaks at joint connections. Skilled plumbing amendments can save time and avoid costly mistakes.
Waterproofing and Tiling
Ensuring a bathroom is both water-resistant and aesthetically pleasing involves careful preparation and execution. Using the right tiles and techniques are crucial to achieving a durable and attractive finish.
Choosing Tiles
Selecting the right tiles involves more than just aesthetics. The tiles must withstand constant moisture conditions. Porcelain and ceramic tiles are popular due to their water-resistant properties. For areas with direct water exposure, like shower floors, smaller tiles provide better grip and slip resistance.
Consider the tile’s finish and color. Matte finishes can reduce the risk of slipping, while lighter shades make spaces appear larger and brighter. Tiles should be rated for bathroom use, especially for floors needing durability against foot traffic and moisture.
Tiling Techniques
Proper tiling techniques ensure longevity and a polished look. Before tiling, the surface must be clean, dry, and even. This requires proper leveling and priming. It is crucial to use a waterproof membrane beneath tiles in wet areas to prevent leaks.
Correct spacing between tiles using spacers ensures uniformity. Grouting should be consistent to prevent water ingress. Choose mold-resistant grout and seal it to minimize maintenance efforts. The tile adhesive should be appropriate for the specific tile type, whether it’s ceramic, porcelain, or natural stone, to ensure a secure bond.
Installing Bathroom Fixtures
Installing bathroom fixtures adds both function and aesthetic appeal. Key considerations include fitting sinks and faucets, setting up toilets, and installing showers and tubs efficiently.
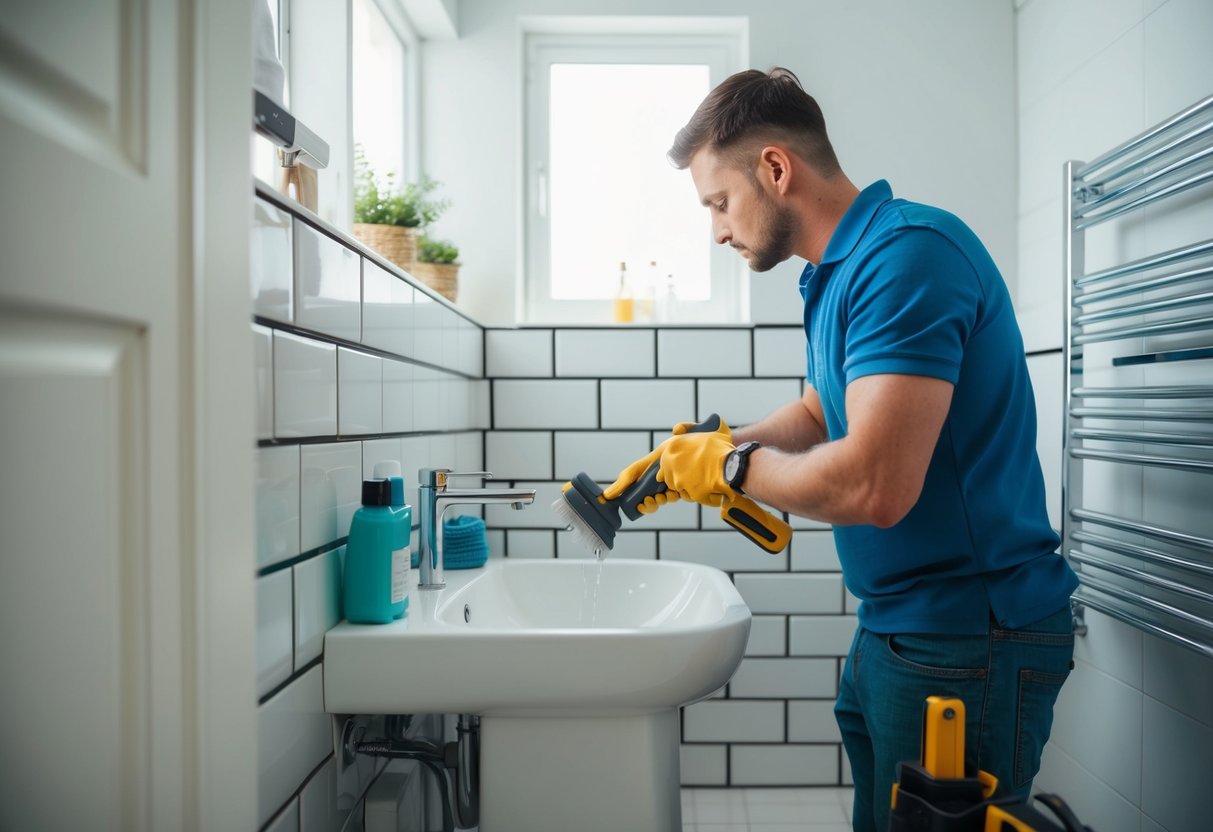
Sinks and Faucets
A range of sink styles exists, including pedestal, vanity, and wall-mounted designs. Each requires different installation procedures. Vanity sinks often involve securing a counter and connecting to the plumbing below. Wall-mounted sinks need support brackets for stability. Faucets should fit the sink’s pre-drilled holes. A wrench is necessary to secure nuts tightly and ensure leak-free connections. Proper alignment and tightening are crucial. Water supply lines must be attached carefully to prevent leaks. Installing a faucet may involve fitting the aerator and handle, then turning on the water to test functionality.