Top 5 DIY Home Security Systems: Expert Reviews and Easy Installation Tips
Cove Security System
Cove Security System provides an easy-to-install and cost-effective home security solution. The system is designed for quick setup, with pre-configured devices that require minimal technical knowledge. Cove offers professional monitoring services at competitive rates, starting at $15 per month, alongside self-monitoring options.
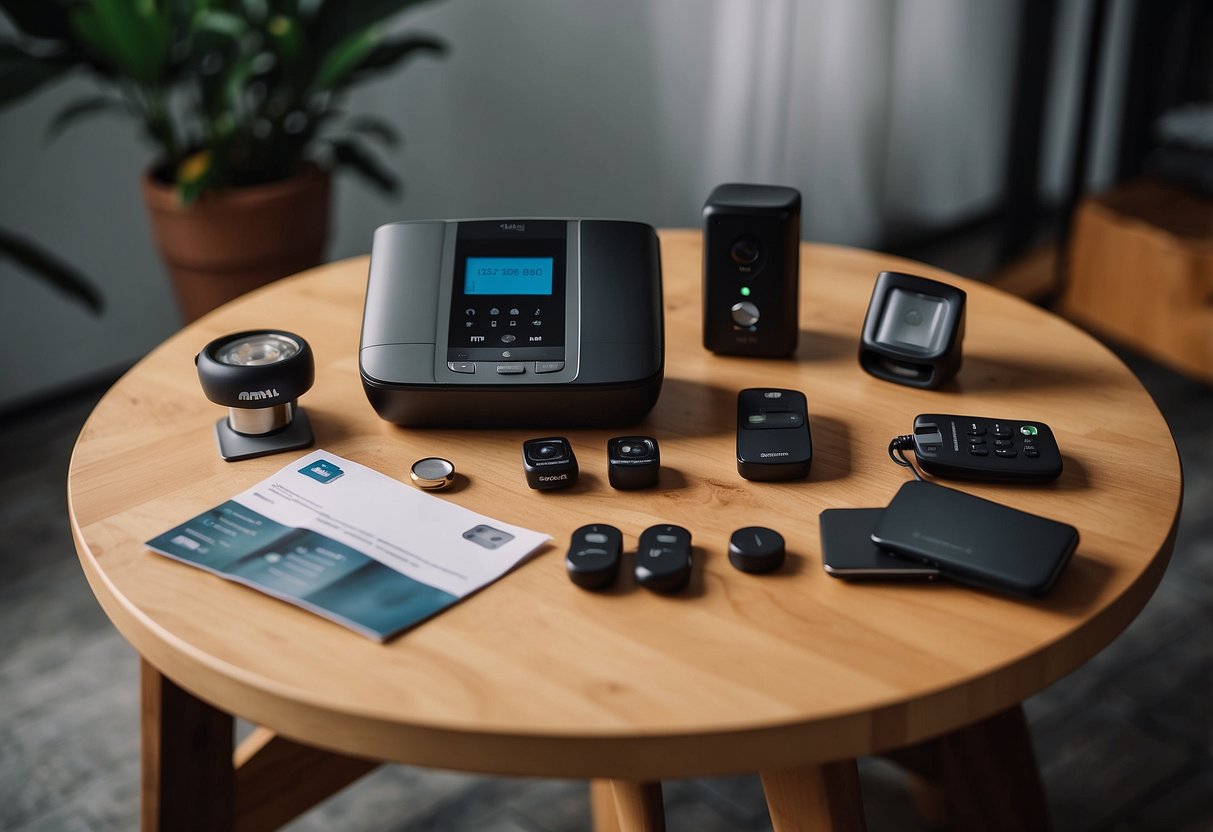
Cove’s equipment package includes door and window sensors, motion detectors, and a touch-screen control panel. The system’s user-friendly interface and no-contract monitoring plans are significant advantages. The mobile app facilitates remote access and notification management, ensuring users can stay connected to their home security system from anywhere.
Wyze Home Protection
Wyze Home Protection is a budget-friendly option that doesn’t compromise on quality. Known for its affordable pricing, Wyze offers a range of security devices, including cameras, motion sensors, and entry sensors. Installation is simple, and the system supports both professional and self-monitoring options.
Professional monitoring starts at just $4.99 per month, making Wyze one of the most cost-effective solutions on the market. The equipment is compact and functional, with a strong focus on ease of use. The mobile app provides comprehensive control and monitoring capabilities, allowing users to receive real-time alerts and manage their security setup remotely.
Installation Tips and Setup Tricks
Proper installation is essential for ensuring reliable performance from your DIY home security system. It involves careful preparation, following step-by-step guidelines, and troubleshooting potential issues to ensure everything works smoothly.
Preparing for Installation
Before beginning the installation process, gather all necessary tools, such as screwdrivers, drills, measuring tape, and level. Check the included materials to ensure everything is present. Read through the manual to understand the components and their placement. Plan the locations for sensors, cameras, and control panels, considering factors like height, accessibility, and connectivity. Proper site preparation ensures accurate placement, optimal performance, and ease of future maintenance.
Step-by-Step DIY Installation Guide
Start by installing the control panel in a central location. Follow the manufacturer’s instructions regarding power supply and mounting. Next, install sensors on doors and windows, ensuring they align correctly for proper operation. Use adhesive backing or screws, depending on the surface and manufacturer’s recommendations. Install cameras in strategic locations, such as entrances and high-traffic areas. Connect all devices to the control panel, following specific pairing instructions. Finally, test the system to confirm that all components are functioning as expected.
Troubleshooting Common Issues
Common installation issues include sensors not aligning correctly, connectivity problems, and power supply issues. If sensors fail to trigger, check alignment and re-secure if necessary. For connectivity issues, ensure the devices are within range of the control panel and that there are no signal obstructions. Power-related issues may involve checking connections or ensuring batteries are properly installed and charged. Following these tips can address many common problems without requiring professional assistance.
Cost and Pricing Structures

When choosing a DIY home security system, it’s important to consider the various costs involved, such as initial equipment prices, ongoing monthly fees, and potential contracts. Different systems offer varying pricing structures that can significantly affect the overall affordability and value over time.
Understanding the Price Range
The initial cost of DIY home security systems can vary widely. Basic packages often start around $200, while more comprehensive systems can exceed $500. The price largely depends on the number of sensors, cameras, and additional features included.
High-end systems may also offer advanced capabilities like smart home integration, which can increase the cost. Some companies may offer financing options to spread out the expense of these higher-end packages, making them more accessible.
Comparing Monthly Fees and Subscriptions
Many systems require a subscription to access advanced features or professional monitoring services. Monthly fees for these services typically range from $10 to $50. Lower-tier subscriptions usually offer basic monitoring, while higher-priced plans include features like video storage, advanced notifications, and enhanced customer support.
It is also essential to consider any additional costs for cloud storage. Some providers offer flexible plans that cater to different needs, helping users find a balance between cost and functionality.
Assessing Long-Term Value
When evaluating the long-term value of a DIY home security system, consider both upfront and ongoing costs. Equipment and installation fees are often one-time expenses. However, monthly fees can accumulate over time, impacting the overall cost-effectiveness.
Such assessments should also factor in potential contract commitments. Some systems require long-term contracts, while others offer month-to-month subscriptions. Long-term contracts often provide lower monthly rates, whereas month-to-month plans offer greater flexibility.
Determining long-term value involves balancing the initial investment, monthly fees, and the level of service received, ensuring you get the most protection and convenience for your budget.


