Top DIY Solar Panel Kits Reviewed: Power Your Home Sustainably
Installation Process of Solar Panels

Installing solar panels involves understanding whether to pursue a DIY approach or hire professionals. Exploring the step-by-step process highlights the necessary considerations and tools required to safely install a solar energy system at home.
DIY vs. Professional Solar Installation
Choosing between a DIY and professional installation primarily depends on one’s technical skills and budget. DIY solar installation can be cost-effective, eliminating labor costs. Yet, it requires a sound grasp of electrical systems and roofing. In contrast, professional installation ensures adherence to safety standards and optimal system performance but involves higher upfront costs.
Professional installers, often certified electricians, bring expertise in handling complex electrical connections, overcoming installation challenges. For those preferring DIY, detailed guides and instructional videos can be valuable resources. However, consultation with a professional might still be necessary to inspect and finalize the setup for safety and compliance.
Step-by-Step Guide to DIY Installation
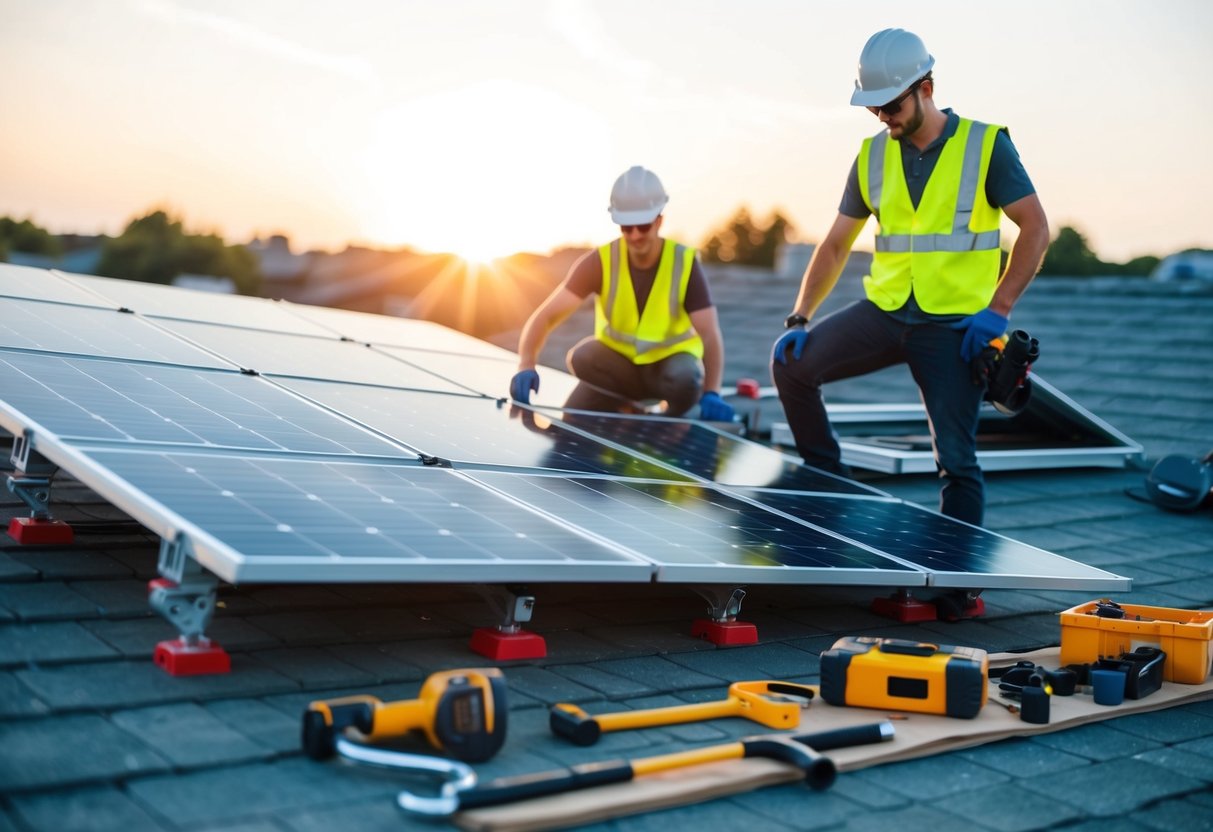
Embarking on a DIY solar panel installation requires the right tools, materials, and a methodical approach. Initially, assess the roof’s condition and sunlight exposure to ensure that it can support the solar panels.
The installation process begins with setting up mounting brackets, followed by securing the panels and connecting them in series. Care should be taken to follow the specifications for wiring for safety and efficiency. Connecting the panels to an inverter and finally to the electrical grid are crucial steps demanding precision and attention to detail.
It’s essential to follow all safety guidelines, including using appropriate protective gear. Some homeowners might opt for a certified electrician to handle wiring connections to ensure compliance with local codes and regulations.
Connecting to the Grid: Net Metering Explained
Net metering allows homeowners with solar panels to connect to the grid and exchange energy. When these systems produce more energy than the home consumes, the excess is sent to the grid. This generates credits, effectively allowing the utility to store energy for the homeowner’s later use.
In grid-tied setups, the house remains connected to the utility grid. This ensures a reliable power supply even when solar production is low, such as during nighttime or cloudy periods. The energy meter tracks the electricity flowing to and from the grid, facilitating net metering.
Net metering programs vary by location and utility provider. These programs determine how credits are applied to utility bills. While some allow carry-over of credits to future bills, others may reimburse homeowners at the end of a billing cycle.
It’s essential to understand the terms and conditions set by the local utility regarding net metering. This can include limits on system size, eligibility criteria, and any fees associated with the service. Engaging with the utility provider early helps ensure a smooth connection process.
Understanding the financial implications is crucial. Net metering often reduces electricity bills and maximizes the return on investment for solar systems. It represents a key aspect of the transition to renewable energy, promoting both sustainability and cost savings.


